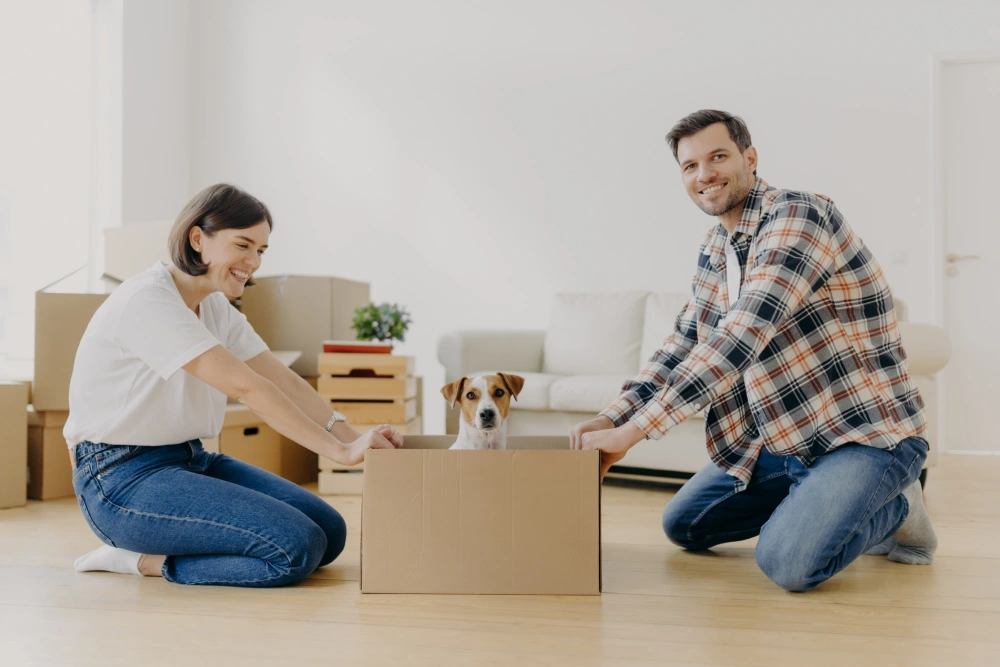
Moving out is stressful enough, but when you’ve got a pet, it adds a whole new layer. Between fur in the carpets and that lingering animal smell, pet owners often face extra cleaning challenges that sneak up at the last minute.
It’s a familiar story: you think you’ve done enough with a quick sweep and mop, only for the landlord to point out pet hair in the corners or a smell you’ve gone nose-blind to. That’s when the reality hits—end-of-tenancy cleaning with pets takes more than the usual wipe-down.
To get your full deposit back, you need a thorough end of tenancy cleaning, a game plan that tackles the not-so-obvious pet-related issues. Here’s how to do it right, and leave your place looking (and smelling) like your furry friend was never there.
Why Pet Owners Face Stricter Cleaning Expectations
Property managers and landlords typically maintain rigorous standards regarding cleanliness, particularly for tenants who keep pets. Why? Pet owners face challenges because many people dislike animals, while others experience allergic reactions to pet hair and smell.
A person who lived next to me suffered from severe cat allergies. She moved into a place that had previously housed one, and within days, she had to break her lease.
Pets can leave behind fur, odours, scratches, and stains—all of which build up over time, even in homes that appear clean. Because of these potential issues, many landlords include pet-related clauses in rental agreements. In some cases, keeping a pet requires an extra fee and proof of professional end-of-tenancy cleaning when moving out.
Being a pet owner means you’re expected to clean up not just the usual dust and dirt, but also any traces of your furry friend. Think of it this way: you loved your pet in that home, but the next tenant might not. So, the goal is to leave no sign behind.
Pre-Cleaning Preparation
Deep cleaning starts with some important steps. If possible, find a temporary place for your pet to live for two days. The time your pet spends away from home will reduce the amount of fur you need to clean up.
Next, gather all your supplies. You’ll need:
- A strong vacuum system (pet hair models work best) should be your first purchase.
- Pet-safe enzymatic cleaners
- Steam cleaner or carpet shampooer
- Baking soda and vinegar
- Lint rollers and rubber gloves
- Microfibre cloths and sponges
Check each area in your home to note which ones need cleaning. Evaluate each area for discolourations, foul smells and physical damage. Look out for pet hair trapped behind furniture and under beds. Surprisingly large amounts of fur and grime accumulate in hidden spaces.
Deep Cleaning Checklist for Pet Owners
The true effort starts during this stage. We will organise the cleaning process by dividing it into sections.
1. Carpets and Flooring
Pet fur and their odours stick to carpets very easily. The first step involves conducting a complete vacuuming process.
Vacuum each carpeted area thoroughly, making multiple passes from different angles to lift embedded fur and dirt. Sprinkling baking soda and letting it sit for about 15 minutes before vacuuming helps neutralise odours and leave the space smelling fresher.
Use enzymatic cleaners to treat stubborn stains like urine or vomit. These products break down organic matter at the source, making them especially effective for pet-related messes.
For a deep finish, follow up with a carpet cleaner or consider hiring a professional carpet steam cleaning service. Many landlords require proof of professional cleaning as part of move-out conditions, so keeping a receipt is important.
2. Walls and Baseboards
Pets create messy art with their paws. Pet paws leave muddy marks and scuffs while fur finds its way onto walls and baseboards.
Wipe everything down with a damp cloth. A magic eraser provides excellent results for removing stubborn marks. Minor wall damage, like scratches and chewed corners, should be repaired either by filling the spots or painting the area.
This minor adjustment creates substantial improvements.
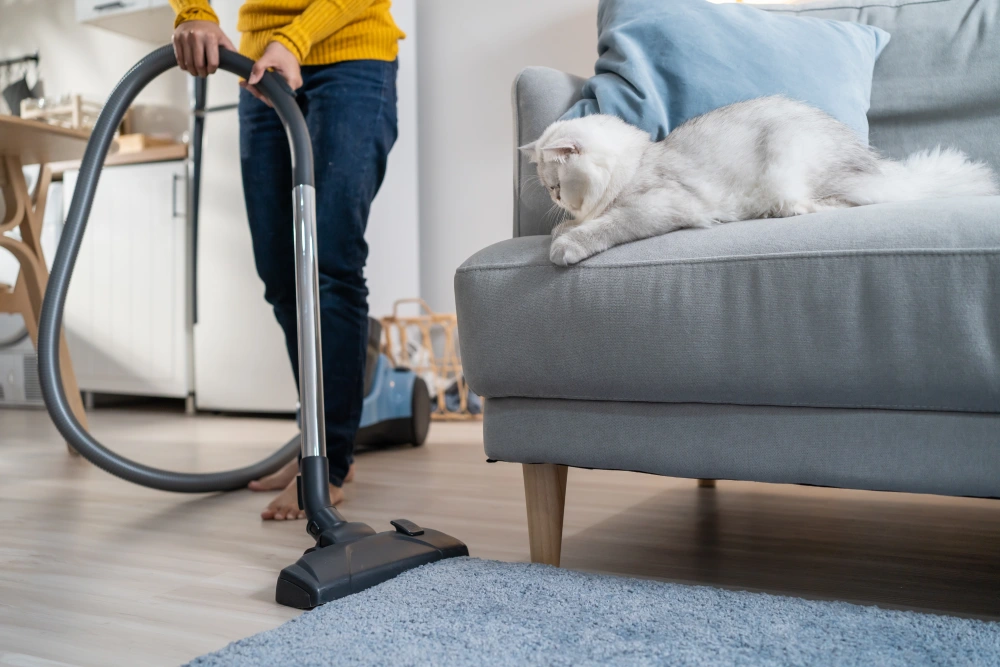
3. Furniture (If Furnished)
Property owners who provide rental furniture will expect you to clean all areas of the furniture. A vacuum machine with an upholstery tool can efficiently clean up hair. Rubber gloves combined with lint rollers provide an effective method to remove tough pet hair from surfaces.
Using an upholstery cleaner can make a noticeable difference, especially when pets have claimed the furniture as their own. One renter even received positive remarks from their landlord after thoroughly cleaning pet-occupied sofas.
4. Pet Hair Removal Tips
Pet hair spreads to every corner of your home, including curtains, lampshades, vents and all other surfaces. Rubber gloves work like magic. The process involves dampening the gloves and then using them to brush surfaces.
You may be surprised by how much fur starts to come off. In areas where pet hair is more stubborn, try combining pet hair removal tools with fabric brushes for better results.
5. Odour Elimination
This is a big one. No matter how well you think you hide the odour your pet leaves behind, someone else will detect it. Allow fresh air into the room by opening windows and apply baking soda to carpets along with upholstery before vacuuming it off.
An eco-friendly cleaning method, such as a mixture of white vinegar and water, creates a powerful spray for tackling stubborn odours. In spaces like litter box areas, lingering smells can become overwhelming. Proper ventilation, paired with vinegar cleaning, can make a noticeable difference. Don’t forget to clean air vents and replace filters regularly, as they trap pet dander and odours over time.

Addressing Pet Damage
Even the most well-behaved pets can leave behind minor damage. Scratches on doors, scuffed corners, and claw marks on floors are common and should be properly addressed before moving out.
Wood filler and basic repair kits work well for small scratches. In cases of more significant damage, such as torn baseboards, replacing the affected section is often the best solution. A small investment, like £15 spent on materials, can save you from a much larger deduction from your deposit.
For damage to window coverings like blinds or curtains caused by clawing, consider replacing them. To avoid disputes, check with your landlord in advance to see what replacement options they prefer.
Outdoor Areas (If Applicable)
Pets that spend time outside require attention to the balcony and yard areas. Complete waste removal, filling all holes from dog digging and trimming excessive plant growth. Clear away patio and balcony surfaces and then wash down the areas that your pet visited.
My friend owned a cat who spent his time sunning himself on the balcony. The balcony became completely covered with fur and claw marks after she left. A swift cleaning with paint touch-up work transformed everything.
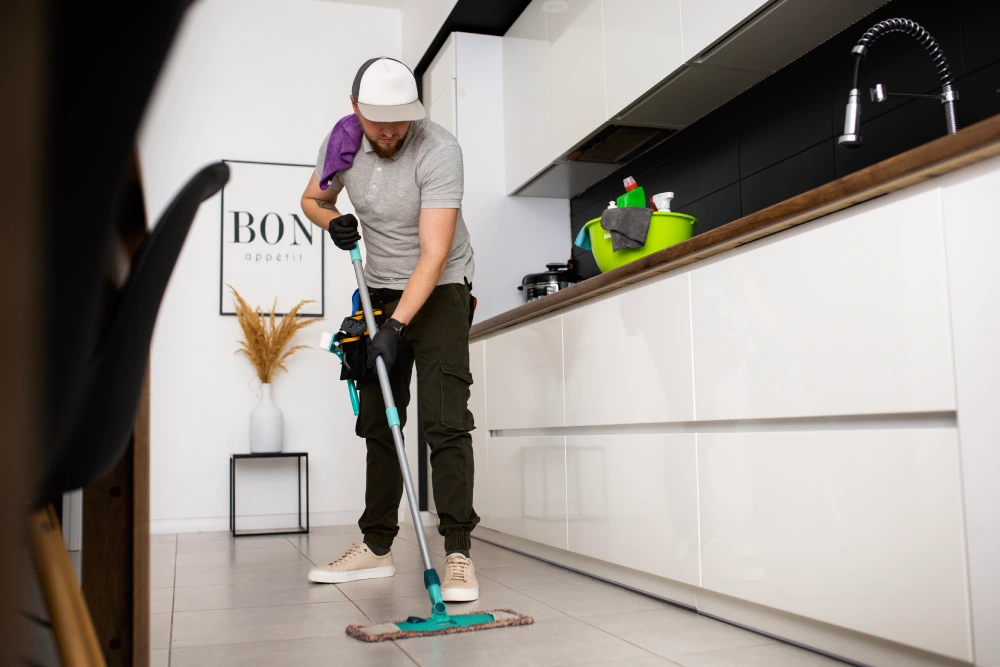
When to Hire Professional Cleaners
Self-cleaning can become impractical in certain situations. You should get professional cleaners to handle major cleanup situations and those cases where time is limited, especially when they specialise in pet-related cleaning services.
Professional cleaning services possess industrial-grade cleaning tools and complete expert knowledge about dealing with pet hair, stains and odours. Most landlords expect tenants to hire professional cleaning services due to their strict requirements.
For example, hiring a service specialising in homes with pets can be the best investment. Many tenants report getting their full deposit back without any issues after such professional cleaning. The cost of professional end of tenancy cleaning typically ranges from £120 to £250, depending on the size of the property and the level of cleaning required. It may seem like a significant expense, but compared to the potential loss of a large deposit, it’s a worthwhile investment.
Final Inspection Tips
Once you’ve cleaned everything, do a walkthrough on the apartment, inspecting everywhere as the landlord would with your eyes. Better yet, invite a friend over and ask for their honest opinion. Sometimes we become nose-blind or immune to messes that others notice immediately.
Take photos of each room to document the condition. This is especially helpful if any disputes arise later. I always keep a folder with move-in and move-out pictures. It’s saved me more than once.
Conclusion
Moving out as a pet owner can be stress-free with the right preparation. By dedicating time to cleaning and ensuring the property is in good condition, it’s possible to secure your full security deposit.
Pets bring joy, but they can also create messes. By taking the time to clean up after them, you show consideration for the property, your landlord, and the next tenant.
A little extra effort during your move-out cleaning can save you from unnecessary stress later on. With a bit of planning, it’s possible to avoid common mistakes and ensure a smooth transition.


0 Comments